Saturday, January 29, 2011

Mail Organizer

My mail usually all ends up in a pile on the dining room table.  I figured it was about time to get organized, so made a mail organizer.

And I will show you how to make one too!
What you'll need:
  • 4 pieces of fabric cut to 6" by 10"
  • 4 pieces of fusible interfacing cut to 3" by 10"
  • 1 piece of backing fabric, I just used a big piece and cut it down to size
  • Bias tape
  • Sewing machine
  • Iron


1) Following package instructions iron interfacing iron the interfacing onto the wrong side of the four small pieces of fabric.  And then iron in half long ways.


2)  Place the first folded piece of fabric onto the big backing piece of fabric and sew along the bottom long opening.
3)  Place your next folded piece 1.5 inches below the first piece and sew along the bottom long opening.
4)  Continue until you have all 4 divider pockets attached.
5)  Sew along the sides of the pockets.

6)  Trim around all four sides to desired size.
7)  Finish the edges with bias tape
8)  Add a loop made from bias tape (if desired).
9)  Insert your mail and you're done!

Friday, January 28, 2011

DIY Club Ezine - Includes my lip balm recipe!

Hey everyone, the new eZine from the DIY club is out, and guess what...my lip balm tutorial is in it!  I'm so excited!  Check it out, along with all the other great projects included.  Thanks so much to Holly and everyone from the DIY Club!


Click to launch the full edition in a new window
Self Publishing with YUDU

Friday, January 21, 2011

Handmade Accessories

I had been working on a few coordinating pieces for a birthday present for my amazing sister in law, but couldn't post them until she opened them.  She opened them this morning, so I can finally post pics!  I sure hope she likes them!  And a big HAPPY BIRTHDAY to my great sister in law Kaitlyn!
First I made a gathered zipper pouch with a large rosette.  I got the tutorial for this pouch from Noodlehead.
Here's a shot of the inside:
I also made a checkbook cover with a ruffled accent (Wanna make one of your own? See my tutorial here).
And here's an inside shot:

Here's the wallet (for a tutorial on how to make this see here):

And a shot of the inside.  This was my first attempt at using the zig zag stitch, as you can tell I need some practice.

I also made some rosette bobby pins (if you want to see the tutorial to make them see here).


Tuesday, January 18, 2011

Shoe Re-do

I found these shoes for 4 bucks at Target and had been wanting to attempt a shoe makeover so decided to grab them.
First I took the flowers off the shoes with some scissors.
Then I filled the insides with newspaper.
And spray painted them with gray paint.
I probably would've left them like this, but I had the spots showing through the paint where I removed the flowers, so decided to add some rosettes I made.  Here's the final version:
What do you think?  Were they cuter before, or are they better after?  Have you done a shoe re-do?  I would love to hear about it!

Wednesday, January 12, 2011

Checkbook Cover Tutorial

I finally got fed up with my flimsy plastic checkbook cover that my bank gave me.  So decided to make my own!

What you'll need:
  • 1 piece of outer fabric, 1 piece of inner fabric, 2 pieces of fusible interfacing each piece cut to 8" x 14"
  • Sewing Machine
  • Iron
  • A junky checkbook cover you want to replace!
1)  Fuse your interfacing to the wrong sides of the fabric, following instructions on the package
2)  Placing right sides together, sew 1/4" from the edge of the fabric leaving a couple inch gap on one of the short ends (for turning)
3)  Clip the corners
4) Turn inside out and push out the corners (I use the back of a skewer to push the corners out, but any stick-like object would work i.e. pen, chopstick, twig)

5)  Using your iron press all of the seams and make sure to press in the few inches that you left open to turn right side out.  You should end up having a long rectangle like this:


6)  Sew 1/8" from the edge on both of the short ends of the checkbook cover
7)  Using a checkbook fold over fabric to the desired height and pin in place (can you tell I don't like measuring?).  Do this on both ends of your fabric
8)  Sew 1/4" around the entire outside edge of your cover
9)  Fold in half and press seam with your iron.  Insert your checkbook and you're finished!


Pretty easy, huh?  And way better than the plastic one!

Tuesday, January 11, 2011

Magazine Bowl Tutorial

I got a lot of request for a tutorial on how to do create magazine bowls.  So without further ado, here's the tutorial!

What you'll need:
  • A stack of magazines
  • Hot glue gun
  • Mod Podge
  • Paintbrush
  • A great tv show or movie to sit in front of while you mindlessly fold ridiculous amounts of paper!
And now for the fun part!
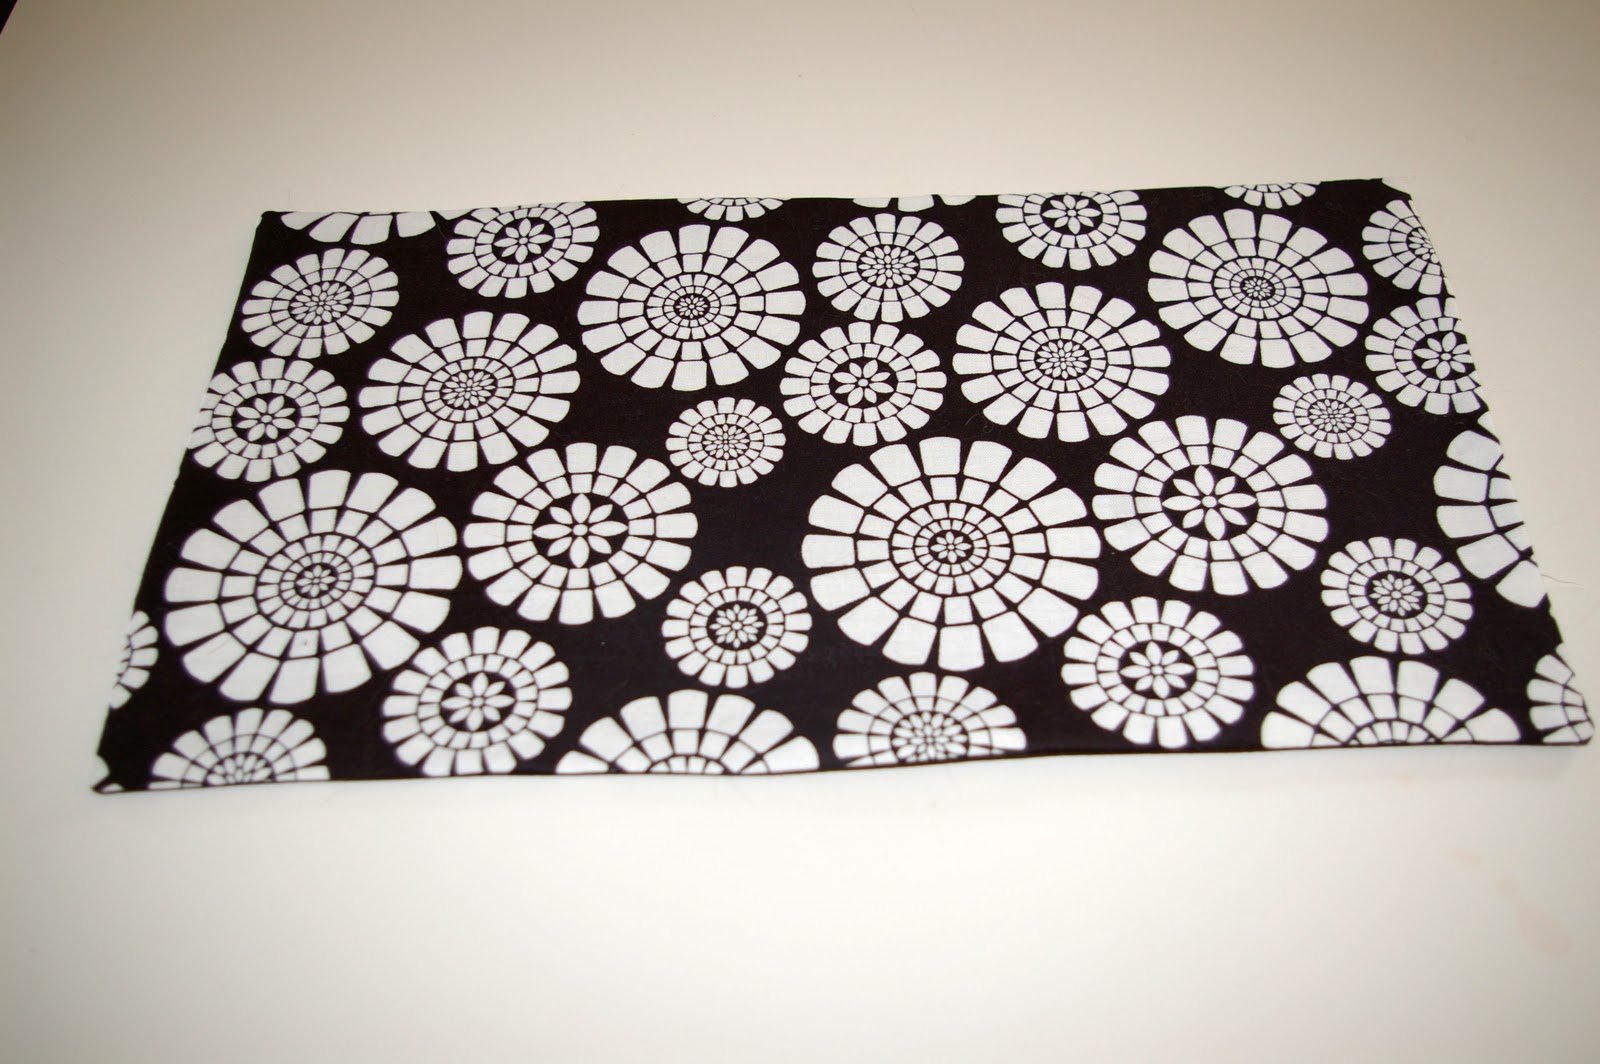
1) You will need to rip or cut out a bunch of magazine pages.
2)  Take a magazine page and fold it in half (with the image you like on the outside).

 
3)  Open it back up and fold the ends in to the center crease on both sides.

4)  Fold the long end back to the center crease one more time.
5)  Fold now along the crease so you have one strip like this:


6)  Now do this about a million more times until you have a stack of strips.


7)  Put a dab of hot glue on the end of your first strip and start rolling it up, when you get to the end put a dab of glue to hold it down.  I also usually put a dab of hot glue about half way through each strip just to secure it in place.
8)  On your next strip put a line of glue on one of the short ends.
9) Fit the strip with glue into the end of the last strip.


10)  Continue adding strips until you get your roll to the desired size of the base of your bowl. 
 11)  On your next strip start angling your strip upwards as you glue it down (your basically now spiraling your strips upward to your desired height).


12) Keep adding strips until it is as tall as you want your bowl to be.  Then at the top I add one more strip to the top to make sure that the top is even and not crooked.
13)  With your paintbrush apply a coat of Mod Podge.


14)  Allow the first coat of Mod Podge to dry and then add a second and you're done! (The inside of the small bowl looks a little off because the coat of modpodge hadn't dried on that one yet)
Hope everyone enjoys making their own magazine bowls.  I would love to see pictures of how yours turn out!!!


Monday, January 10, 2011

Magazine Bowls

My big sister, Steph, gave me this great bowl that she made for my birthday this year.  My husband almost immediately after my sister left the house staked his claim on it because he loved it!  I loved it too and it didn't matter so much because it was in a shared space for a long time.
 But then we got new, bigger, nightstands and he officially stole it and put it on his nightstand.  So what's a girl to do?  Make another one!  Or two...or three!

This was super easy, but time consuming.  It's a lot of paper folding and then paper rolling but I think they are great and a good way to use those extra magazines you've got sitting around!  Be warned though, if you start this project, it is slightly addicting.  I have made three and have the paper folded for a fourth already!  I have posted the full tutorial here.
I'm trying out for 1 Month 2 Win it...wish me luck!

Thursday, January 6, 2011

Chalkboard Box

I've really been loving everything made with chalkboard paint that I have been seeing all over the place.


So I decided to jump on the bandwagon and bought some chalkboard spray paint and decided to make something myself (Why I decided I needed to put corks in it I'm not sure...they just looked kinda cool sitting there next to my box).


I decided to take this thrift store box that I got for fifty cents and give it a makeover.


First, I ripped out the fuzzy lining.  Ahh it's already starting to look better!


Then I put on three coats of Krylon chalkboard spray paint.  I let it dry overnight and then had my very own chalkboard box.


Tuesday, January 4, 2011

Dollar Store Frame Spruce Up!

Okay, I may be starting to get addicted to spray painting now.  I had this gold dollar store frame that I liked the pattern on, but I'm not really a gold person.  And this is the only gold thing in my house, unless you count the brass fireplace cover, that will soon be getting a makeover itself.
I have a can of grey gloss spray paint from my bowl re-vamp that I thought I would use on this frame too!
Here it is on my shelf with a picture of my sister, mom, grandma and me in it!

p.s. Don't you love the octopus print on the wall?!?