Showing posts with label sewing. Show all posts

Friday, April 8, 2011

Pillow Cover Tutorial Part 2 - Hidden zipper and Assembly

This part of the tutorial will cover putting in your hidden zipper and assembling your pillow.  For part 1 of this tutorial, creating the piping, click here.

What you will need:
  • The piping you made from part 1 of this tutorial
  • Fabric for the front of the pillow cut to one inch longer and wider than the pillow form (i.e. if your pillow is 12x18 cut your fabric to 13x19)
  • Fabric for the back of the pillow cut one inch wider than your pillow and 2 inches longer that your pillow (so for our 12x18 pillow we would cut the fabric to 14x19 since it will be a long skinny pillow)
  • Zipper
  • Pillow form
  • Sewing machine with regular and zipper feet
  • Scissors
  • Pins
  • Iron
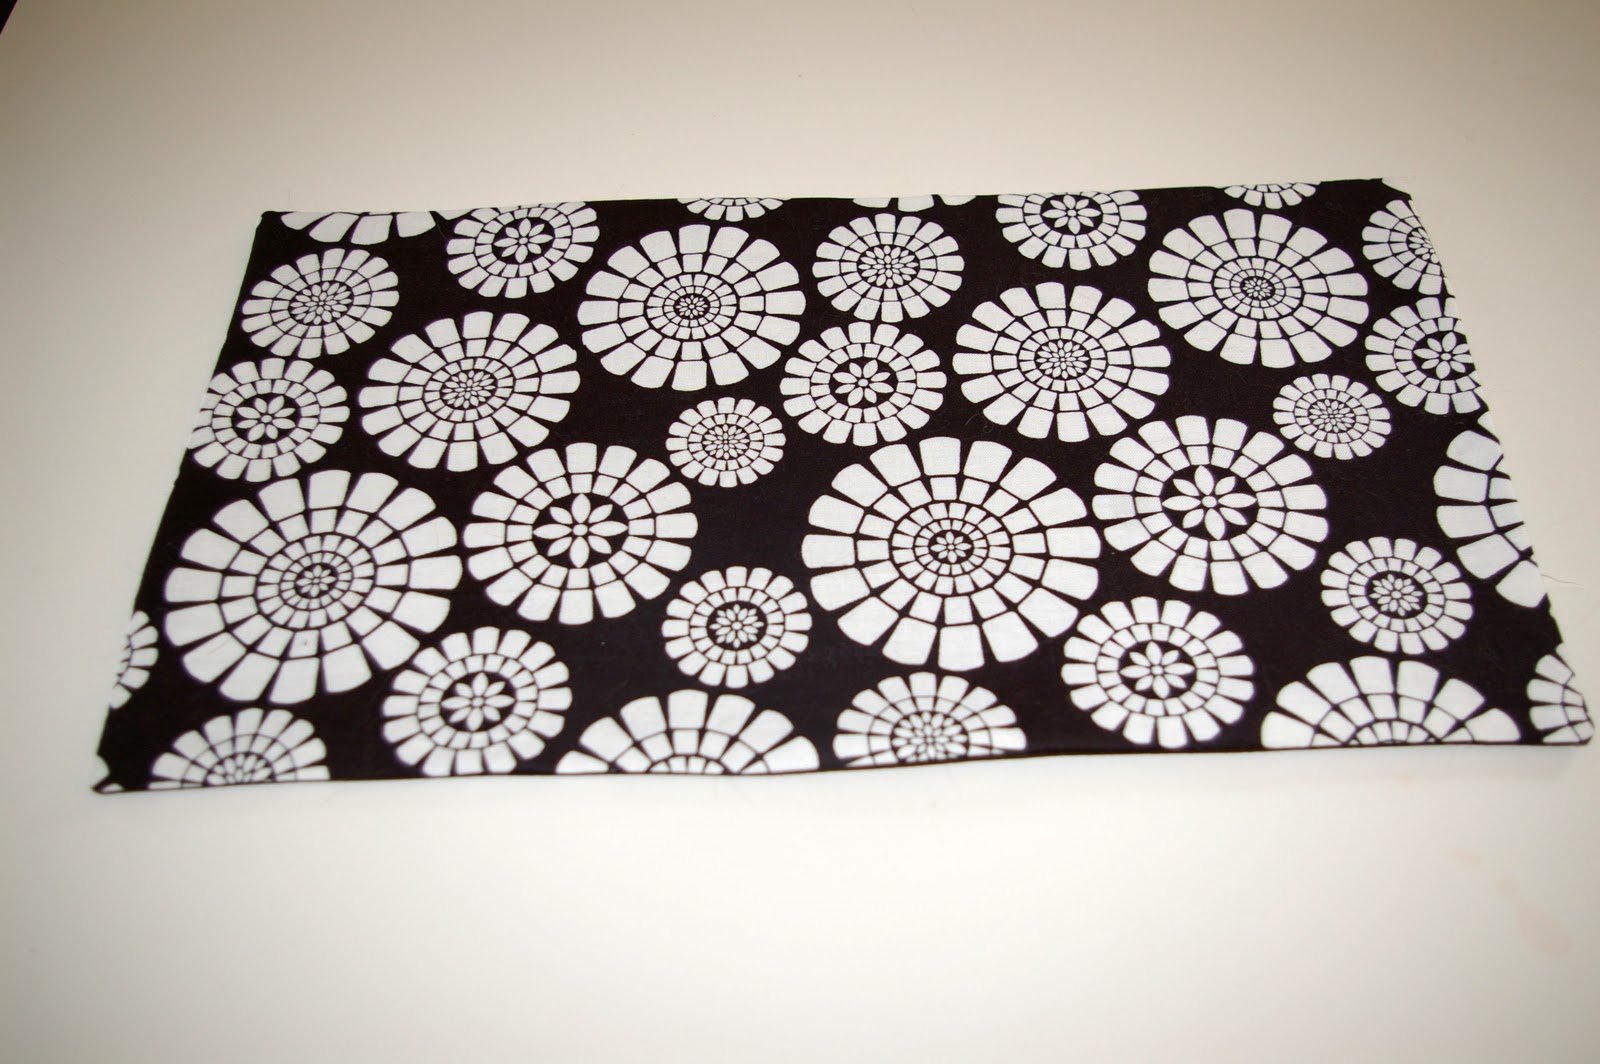
The first thing we want to do is attach the piping to the front piece of fabric.  You will want to pin the piping to the right side of the fabric and curve around the edges.  Where the beginning and end of the piping meet you will want to cross the two ends over each other.  I try to make this at the bottom of the pillow.
(Here is where you do as I say and not as I do, and make sure to iron your fabric first!)
Around the corners you will want to make slits in your fabric with your scissors so it will go around the curve smoothly.
With your zipper foot on your machine stitch around the entire edge, making sure you are sewing right up against the piping.
Set that piece aside for now as we're going to work on the back of the pillow now.  Take your back piece of fabric and cut it into two pieces (the direction the zipper will go) about 5 inches from the bottom of the fabric.  Place one piece of fabric on top of the other and center your zipper along the seam.  Mark with pins where the zipper ends (about an inch and a half  or two from each end preferably).
Set your zipper aside for now.  Put your regular sewing foot back on your machine.  Sew from one end up to the first pin and back-stitch both at the beginning and at the pin.  Now set your stitch length to it's longest setting and sew from the first pin to the second pin making sure not to back-stitch.  Once you get to the next pin, put your stitch length back to it's normal length and sew to the end back-stitching at the pin and at the end.  Iron open your seam.
Place your zipper over the seam and pin in place, with zipper teeth sitting on top of seam.
Put your zipper foot back on your machine and sew a rectangle around your zipper.
Turn it over and it will look like this.


Now taking either scisssors or a seam ripper either cut or rip the seam open that is over the zipper.  It will then look like this.
Open your zipper all the way up (this step is important otherwise you wouldn't be able to turn the pillow right side out).  Put your front and back pieces of fabric right sides together and sew around the entire thing, making sure you are still sewing up against the piping.  Turn it right side out.
Here is what the back looks like.
Put your pillow form into the pillow and zip close and you're done!  I would love to see how your pillows turn out!


Tuesday, April 5, 2011

Pillow Cover Tutorial Part 1-Piping

This is part one of my pillow tutorial.  It will cover how to make your own piping!  First you will need to gather your materials.

What you will need:
  • Fabric that you will make your piping out of
  • Cording (length should be the perimeter of your pillow fabric plus a few inches)
  • Sewing machine with zipper foot
You will need to cut your fabric on the bias, which is just a fancy word for cutting it diagonally.  I made my strips one and a half inches wide.  If your cording is somewhere around a half inch this should work for you.  If you go bigger I would cut your fabric strips a little wider.
You will need a bunch of these strips to cover your cording.  Sewing the fabric strips together is very easy.  Take two of your strips and place them one on top of the other at a right angle (if your fabric has a right and wrong side put right sides together).  Then sew diagonally across the strips.
Trim the excess fabric from the corner and fold open.
Sew enough fabric strips together to cover your cording.  Place your cording in the center of your fabric strips.  If your fabric has a right/wrong side place the cording on the wrong side.
Fold your fabric over the cording.
Next put your zipper foot on your sewing machine and sew right up against the edge of the cording.
Sew all the way to the end and you have your cording done and ready to be added to your pillow!
Stay tuned for part 2 of this tutorial where we will put in a hidden zipper and assemble our pillow with this cording!

Thursday, March 31, 2011

Pillow Cover

My mom bought me some fun fabric a couple of weeks ago and I have been trying to figure out what to make.  I decided that I needed some new pillow covers for my sofa pillows.
This was my first pass at both piping and hidden zippers.  Part one of this tutorial is up and covers piping.  You can check it out here.  Part 2 covers the hidden zipper and assembly and can be found here.

Tuesday, March 15, 2011

Beginner's Quilt

I'm sure as many of you can guess I'm pretty new to the sewing world and figuring things out as I go along.  I love quilts but the idea of making one has always kind of scared me.  I decided to try to piece together a quilt, but make it a beginner's quilt.

There's my kitty Gaia checking it out!  
It's not perfect, but I think it's a pretty decent first attempt.  Even better, it was pretty easy!  I started out by cutting out a bunch of fabric rectangles that were 8x10" (12 of each in three different fabrics).  I arranged them on my coffee table in the pattern I wanted then started sewing rows of them together.

After I got six rows of six done, I started sewing the rows together.  Here's a peek at the back.
Then when I was done with that I made a sandwich of back fabric, quilt batting, and my sewn together pieces (right sides together with batting in the middle).  I sewed around the entire thing leaving a big opening for turning.  I turned right side out and then hand sewed the opening closed.  Pretty easy, even for a beginner like me!

Tuesday, February 1, 2011

More checkbook covers and a couple clutches

I have been making more checkbook covers and zippered pouches lately and thought I would share them with you.
First is my pink and yellow checkbook cover.
Next I made a coordinating pink and yellow gathered zipper clutch, following the great tutorial from over at Noodlehead.  Make sure to check it out; it is a great tutorial!
I made a non-gathered zippered pouch in this adorable animal print.  I made a checkbook cover that matches this as well.  It even has hearts on it, perfect for Valentine's Day!

And last but not least another checkbook cover in brown and yellow map print.  I love this fabric.  I have a pillow that I made out of this too, and best of all, I got the fabric on the clearance rack!
If you would like to make your own checkbook cover, it is extremely easy.  You can see my tutorial here.

Saturday, January 29, 2011

Mail Organizer

My mail usually all ends up in a pile on the dining room table.  I figured it was about time to get organized, so made a mail organizer.

And I will show you how to make one too!
What you'll need:
  • 4 pieces of fabric cut to 6" by 10"
  • 4 pieces of fusible interfacing cut to 3" by 10"
  • 1 piece of backing fabric, I just used a big piece and cut it down to size
  • Bias tape
  • Sewing machine
  • Iron


1) Following package instructions iron interfacing iron the interfacing onto the wrong side of the four small pieces of fabric.  And then iron in half long ways.


2)  Place the first folded piece of fabric onto the big backing piece of fabric and sew along the bottom long opening.
3)  Place your next folded piece 1.5 inches below the first piece and sew along the bottom long opening.
4)  Continue until you have all 4 divider pockets attached.
5)  Sew along the sides of the pockets.

6)  Trim around all four sides to desired size.
7)  Finish the edges with bias tape
8)  Add a loop made from bias tape (if desired).
9)  Insert your mail and you're done!

Friday, January 21, 2011

Handmade Accessories

I had been working on a few coordinating pieces for a birthday present for my amazing sister in law, but couldn't post them until she opened them.  She opened them this morning, so I can finally post pics!  I sure hope she likes them!  And a big HAPPY BIRTHDAY to my great sister in law Kaitlyn!
First I made a gathered zipper pouch with a large rosette.  I got the tutorial for this pouch from Noodlehead.
Here's a shot of the inside:
I also made a checkbook cover with a ruffled accent (Wanna make one of your own? See my tutorial here).
And here's an inside shot:

Here's the wallet (for a tutorial on how to make this see here):

And a shot of the inside.  This was my first attempt at using the zig zag stitch, as you can tell I need some practice.

I also made some rosette bobby pins (if you want to see the tutorial to make them see here).


Wednesday, January 12, 2011

Checkbook Cover Tutorial

I finally got fed up with my flimsy plastic checkbook cover that my bank gave me.  So decided to make my own!

What you'll need:
  • 1 piece of outer fabric, 1 piece of inner fabric, 2 pieces of fusible interfacing each piece cut to 8" x 14"
  • Sewing Machine
  • Iron
  • A junky checkbook cover you want to replace!
1)  Fuse your interfacing to the wrong sides of the fabric, following instructions on the package
2)  Placing right sides together, sew 1/4" from the edge of the fabric leaving a couple inch gap on one of the short ends (for turning)
3)  Clip the corners
4) Turn inside out and push out the corners (I use the back of a skewer to push the corners out, but any stick-like object would work i.e. pen, chopstick, twig)

5)  Using your iron press all of the seams and make sure to press in the few inches that you left open to turn right side out.  You should end up having a long rectangle like this:


6)  Sew 1/8" from the edge on both of the short ends of the checkbook cover
7)  Using a checkbook fold over fabric to the desired height and pin in place (can you tell I don't like measuring?).  Do this on both ends of your fabric
8)  Sew 1/4" around the entire outside edge of your cover
9)  Fold in half and press seam with your iron.  Insert your checkbook and you're finished!


Pretty easy, huh?  And way better than the plastic one!