Thursday, February 3, 2011

Swirly Earrings

I made some swirly earrings today.  They were super simple and only took a few minutes to make! 

What you'll need:
  • 2 pieces each of 4 inches of 20 gauge silver wire
  • 2 earring hooks
  • round nose pliers
  • jewelry hammer
  • metal block
 1)  Bend one of your wires in half.
2)  With your pliers create a loop on one end and slightly bend the wire.
3)  Slide the earring hook onto the wire.
4)  Now create a loop with the other end of the wire, like in the picture below.
5)  Put your earring on your metal jewelry block and hammer the curves with your jewelry hammer.  The first picture at the top of this post shows one before it's been hammered and one after.
6) Finish with the other earring, put them in and you're done!

And now for some exciting news.  Eye Spy DIY was featured over at Suzy's Artsy-Craftsy Sitcom!  Go take a look and check out all her amazing projects and great linky party!  Thank you so much Suzy!  You are amazing!

Suzy's Artsy Craftsy Sitcom

Wednesday, February 2, 2011

Recipe-Chicken Tortilla Soup

This is my first recipe posting here up on Eye Spy DIY, hopefully everyone enjoys it!  I love spicy food, and especially during these cold winter months nothing is better than soup.  I find myself making this easy chicken tortilla soup a lot during the winter.


Ingredients:
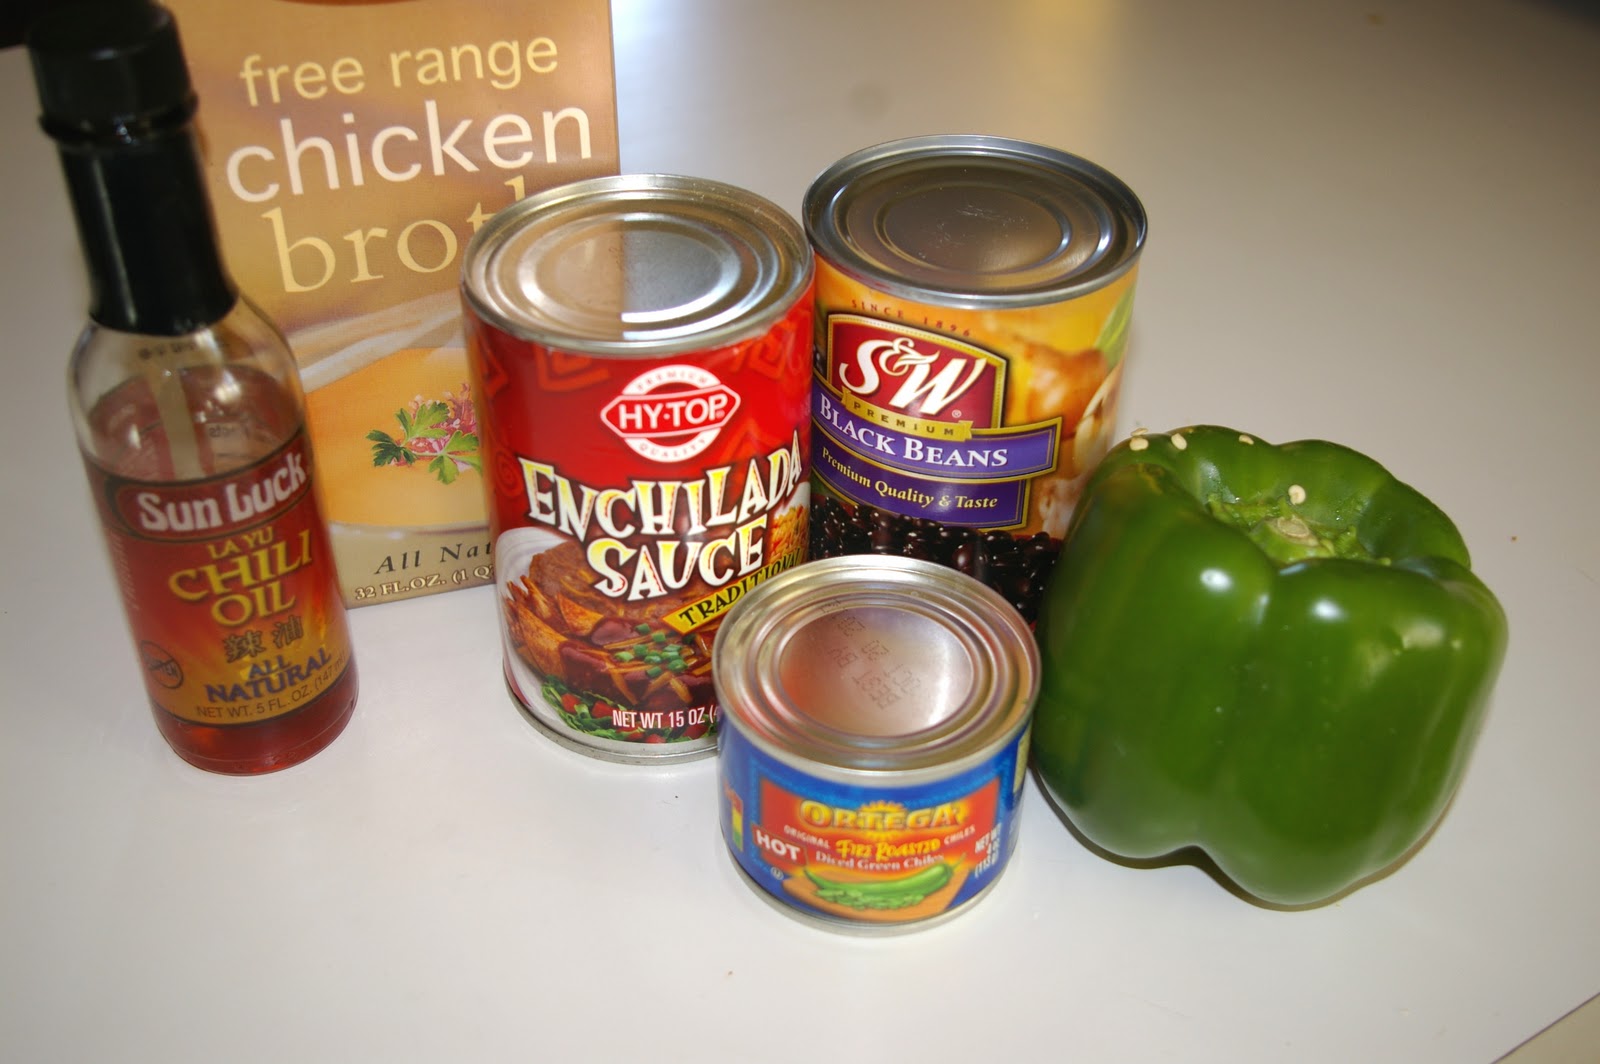
  • Two chicken breasts
  • One can enchilada sauce
  • One can black beans
  • One can stewed tomatoes
  • One can diced green chiles or jalapenos
  • Two bell and one Anaheim peppers (diced)
  • 3 cloves garlic (minced)
  • Chili Oil (1 teaspoon, more if you like spicy)
  • Chicken Stock
  • Tortilla chips

Okay, now here's the really easy part.  Throw everything but the tortilla chips into a crock pot.  Set on low and let cook for 8 hours.  Ladle into a bowl, salt and pepper to taste, and enjoy with tortilla chips!  This is usually my base recipe, you can add different things to make it your own (i.e. corn, potatoes, sour cream, etc.).  Hope you all enjoy this recipe!

Linking up to:

Photobucket

Tuesday, February 1, 2011

More checkbook covers and a couple clutches

I have been making more checkbook covers and zippered pouches lately and thought I would share them with you.
First is my pink and yellow checkbook cover.
Next I made a coordinating pink and yellow gathered zipper clutch, following the great tutorial from over at Noodlehead.  Make sure to check it out; it is a great tutorial!
I made a non-gathered zippered pouch in this adorable animal print.  I made a checkbook cover that matches this as well.  It even has hearts on it, perfect for Valentine's Day!

And last but not least another checkbook cover in brown and yellow map print.  I love this fabric.  I have a pillow that I made out of this too, and best of all, I got the fabric on the clearance rack!
If you would like to make your own checkbook cover, it is extremely easy.  You can see my tutorial here.

Saturday, January 29, 2011

Mail Organizer

My mail usually all ends up in a pile on the dining room table.  I figured it was about time to get organized, so made a mail organizer.

And I will show you how to make one too!
What you'll need:
  • 4 pieces of fabric cut to 6" by 10"
  • 4 pieces of fusible interfacing cut to 3" by 10"
  • 1 piece of backing fabric, I just used a big piece and cut it down to size
  • Bias tape
  • Sewing machine
  • Iron


1) Following package instructions iron interfacing iron the interfacing onto the wrong side of the four small pieces of fabric.  And then iron in half long ways.


2)  Place the first folded piece of fabric onto the big backing piece of fabric and sew along the bottom long opening.
3)  Place your next folded piece 1.5 inches below the first piece and sew along the bottom long opening.
4)  Continue until you have all 4 divider pockets attached.
5)  Sew along the sides of the pockets.

6)  Trim around all four sides to desired size.
7)  Finish the edges with bias tape
8)  Add a loop made from bias tape (if desired).
9)  Insert your mail and you're done!

Friday, January 28, 2011

DIY Club Ezine - Includes my lip balm recipe!

Hey everyone, the new eZine from the DIY club is out, and guess what...my lip balm tutorial is in it!  I'm so excited!  Check it out, along with all the other great projects included.  Thanks so much to Holly and everyone from the DIY Club!


Click to launch the full edition in a new window
Self Publishing with YUDU

Friday, January 21, 2011

Handmade Accessories

I had been working on a few coordinating pieces for a birthday present for my amazing sister in law, but couldn't post them until she opened them.  She opened them this morning, so I can finally post pics!  I sure hope she likes them!  And a big HAPPY BIRTHDAY to my great sister in law Kaitlyn!
First I made a gathered zipper pouch with a large rosette.  I got the tutorial for this pouch from Noodlehead.
Here's a shot of the inside:
I also made a checkbook cover with a ruffled accent (Wanna make one of your own? See my tutorial here).
And here's an inside shot:

Here's the wallet (for a tutorial on how to make this see here):

And a shot of the inside.  This was my first attempt at using the zig zag stitch, as you can tell I need some practice.

I also made some rosette bobby pins (if you want to see the tutorial to make them see here).


Tuesday, January 18, 2011

Shoe Re-do

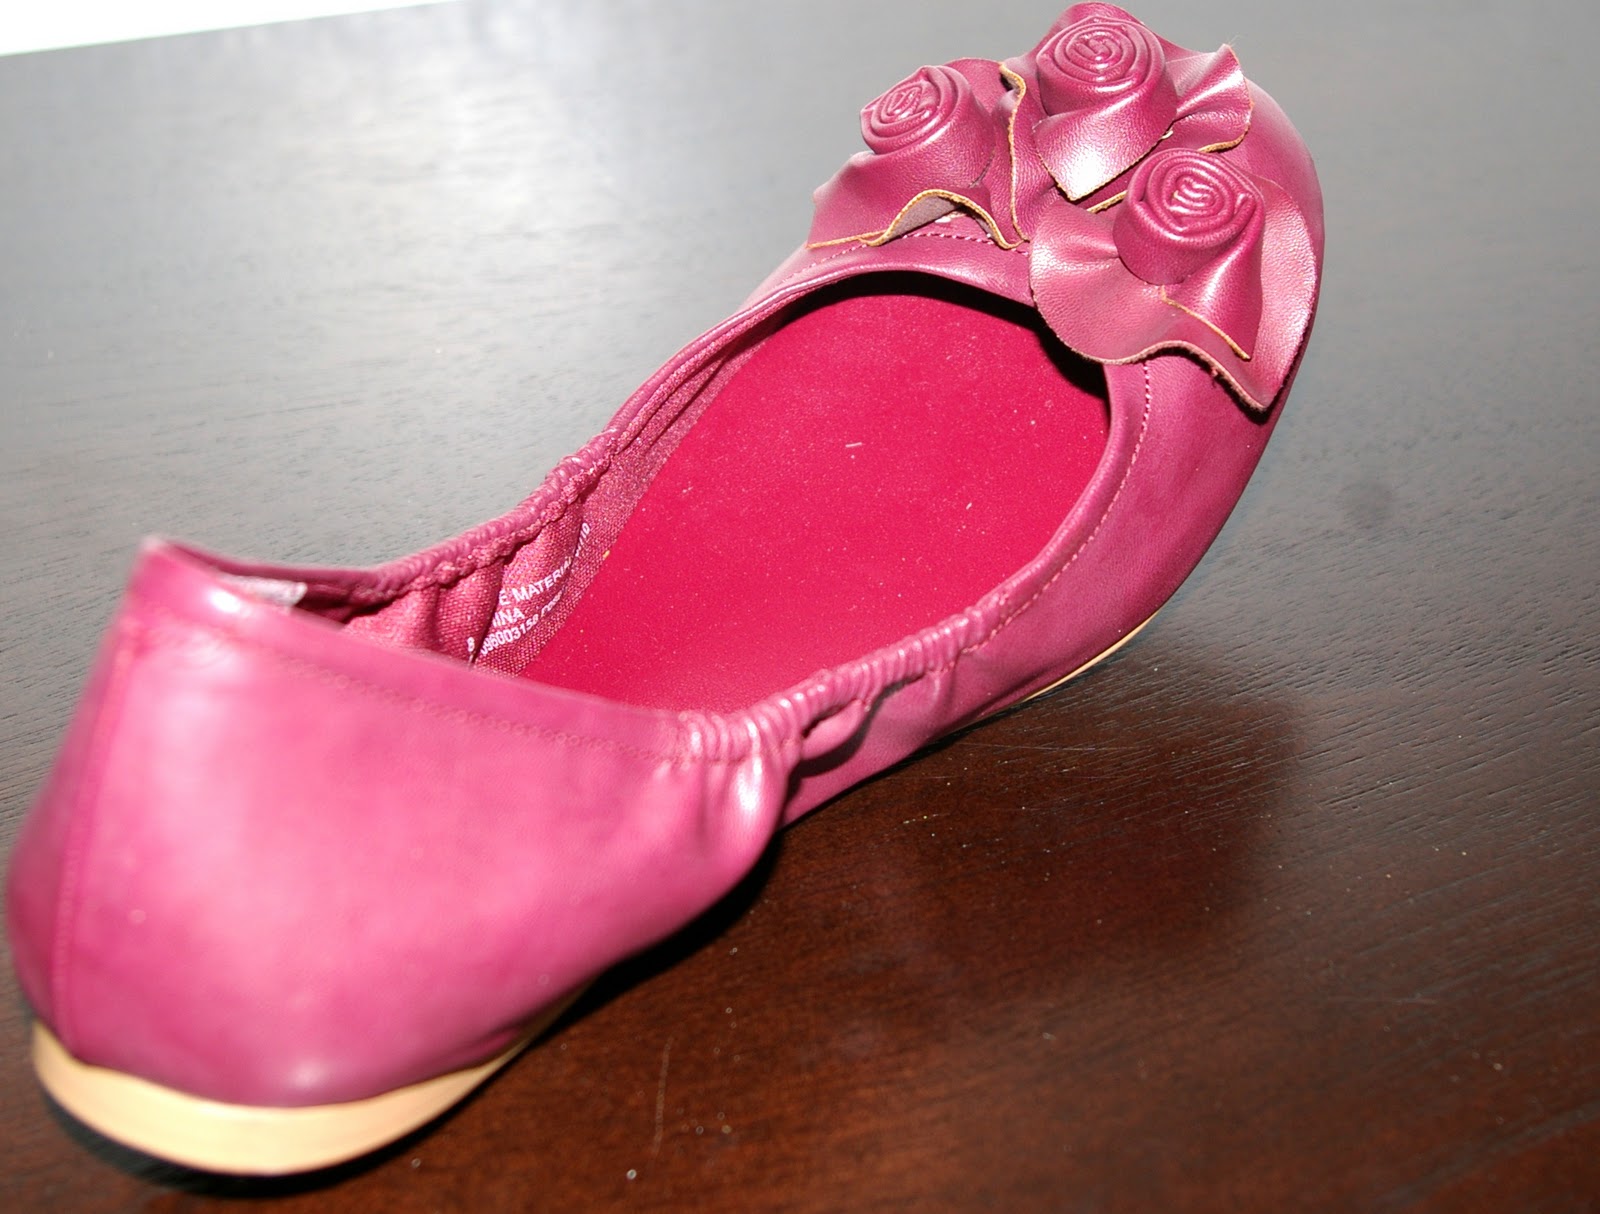
I found these shoes for 4 bucks at Target and had been wanting to attempt a shoe makeover so decided to grab them.
First I took the flowers off the shoes with some scissors.
Then I filled the insides with newspaper.
And spray painted them with gray paint.
I probably would've left them like this, but I had the spots showing through the paint where I removed the flowers, so decided to add some rosettes I made.  Here's the final version:
What do you think?  Were they cuter before, or are they better after?  Have you done a shoe re-do?  I would love to hear about it!