Showing posts with label fabric. Show all posts

Sunday, January 2, 2011

Braided Headband

I guess I'm really into hair accessories lately since this is my second hair accessory tutorial in just a few weeks.  I got a braided headband about a year ago from Urban Outfitters, and it seemed like something I could make myself.  So I went ahead and tried!

What you'll need:
  • Three strips of fabric, I did mine about 16 inches long, but ended up having a pretty long piece of elastic, so if I were to do it again, I'd use around 20 inches strip of fabric
  • Elastic (1/8 of an inch of 1/4 of an inch; I didn't have any this size so took a half inch elastic and cut it down the middle)
  • Bobby pins or clip of some sort to hold ends together
  • Sewing machine or needle and thread
  • Scissors

1)  Clip your three strips of fabric together at the top with your bobby pin (or clip).
2)  Braid your fabric together until you reach the end of the strips.


3)  Once you've reached the end of your fabric sew the ends together using your sewing machine or needle and thread.  Trim any excess fabric.


4)  Place your braided fabric on your head and then measure how long a piece of elastic you will need.
5)  Cut your elastic about a half inch shorter than what you measured (this makes sure that headband will stay on and not be too big).
6)  Sew one end of the elastic to the end of the fabric braid.
7)  Now sew the other end of the elastic to the other end of the fabric braid.

Now you've got your headband!

Friday, December 31, 2010

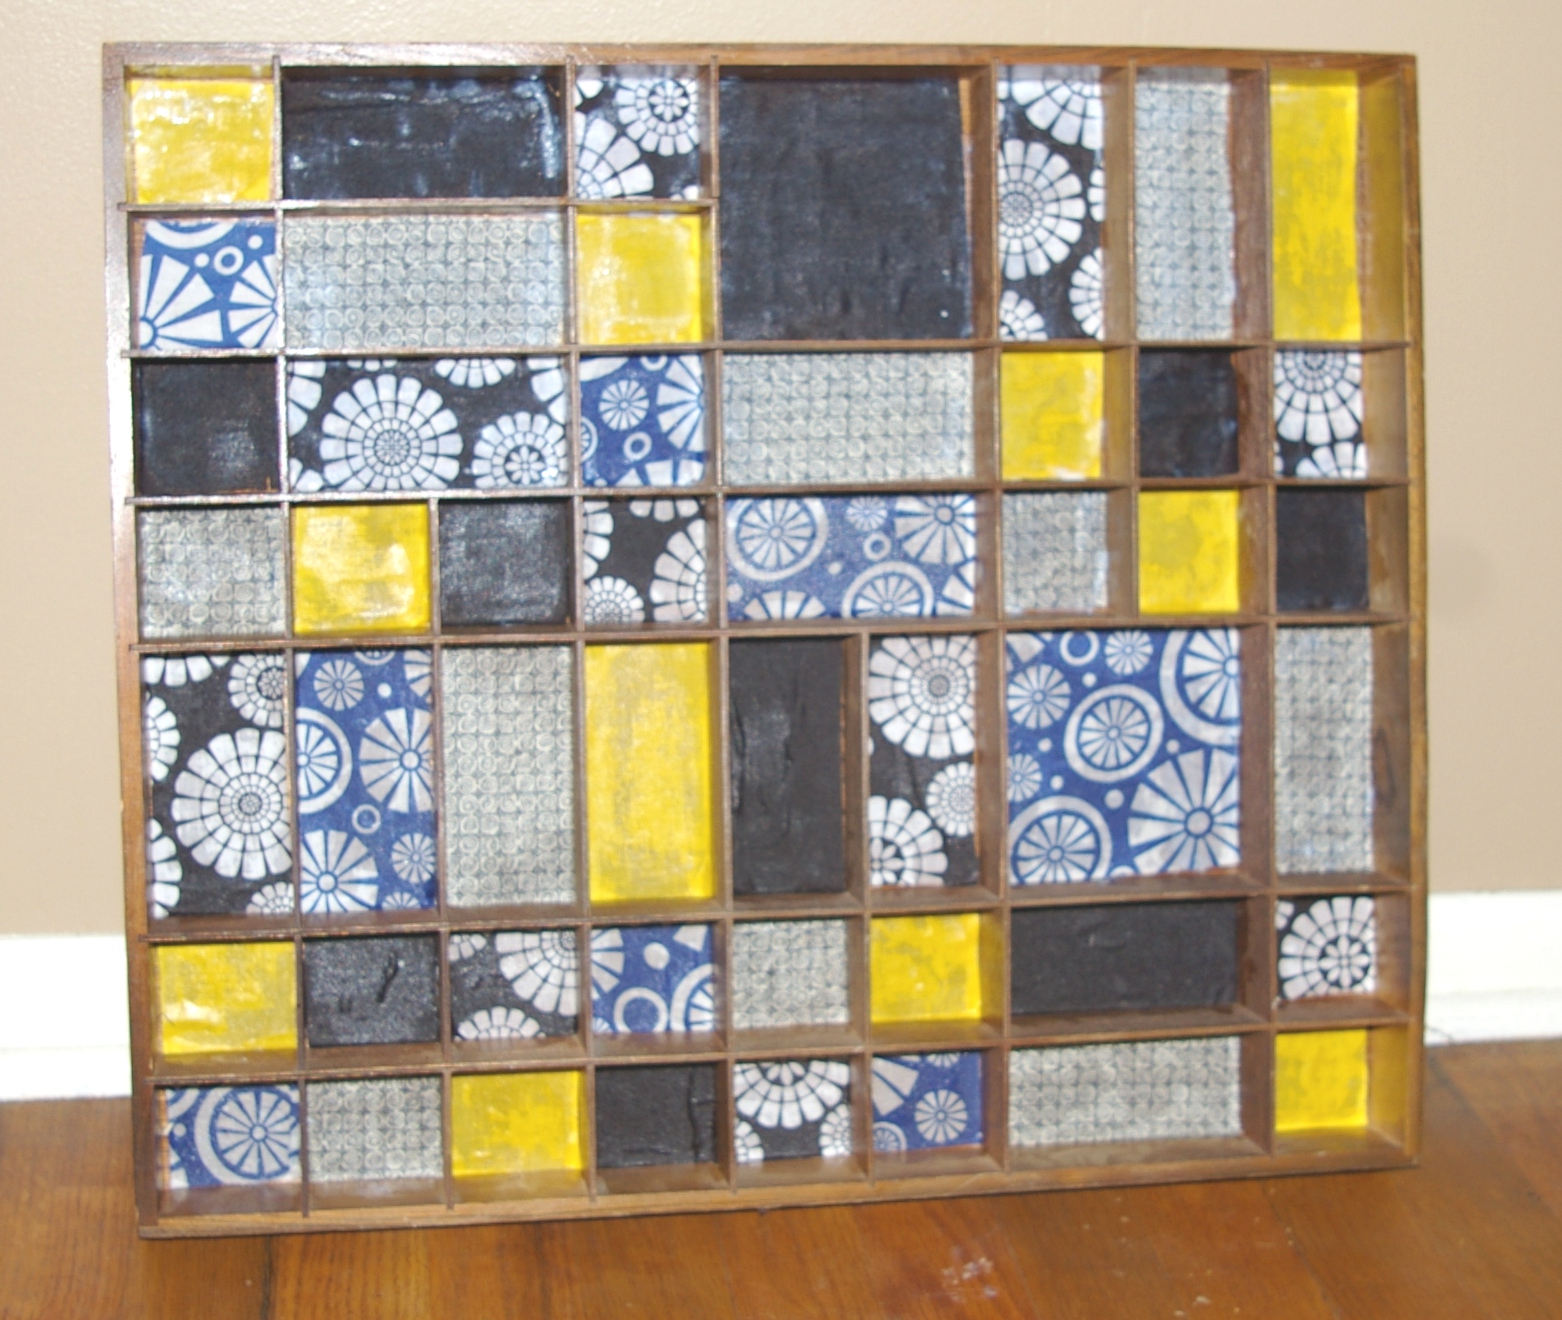
Shelf with fabric background {thrift store project}

I love the idea of taking something old and bringing new life to it.  My sister and I hit the thrift stores yesterday in search for some good finds that we could spruce up!  I took an inexpensive shelf and turned it into a piece of art with a little bit of fabric and some mod podge.


I found this shelf for $2.99 and I had to pick it up.  I knew that I could turn this into a piece of artwork. 
Want to know how to do this yourself.  It's very easy!

What you'll need:
  • Thrift store find shelf
  • Mod Podge
  • Fabric scraps
  • Scissors or Rotary cutter
  • paintbrush
1)  Cut scraps of fabric to the size of each of the spaces of the shelf using the scissors or rotary cutter.
2)  Using your paint brush put a layer of Mod Podge onto the shelf
3)  Lay fabric onto the Mod Podge
4)  Put another layer of Mod Podge on top of the fabric

5)  Let dry 

Voila! You have an inexpensive and unique piece of artwork!

Monday, December 13, 2010

DIY Rosette Hair Pins

I've been seeing rosettes all over the place lately and love them!  So decided to make some of my own and will show you how to do it too!  It's extremely easy and a good way to use up your fabric scraps.
What you'll need:


  • Bobby pins-I got some from a craft store that are more flat than normal bobby pins, but don't see why you could use regular bobby pins
  • 1" by 12" piece scrap of fabric (smaller if you want smaller rosettes)
  • Glue Gun
  • Scissor
1)  Fold your piece of fabric in half so that the one inch edge will be a half inch and glue with glue gun (just one end of the fabric)

2) Fold your piece of fabric in half again and glue (will be a quarter of an inch wide)
3) Twist a few inches of your fabric up.  Use the quarter inch end as a small base, but a dab of glue there and start wrapping your twirled fabric in a circle (like in the picture below)
4)  Keep twirling and wrapping around the circle making sure to secure with a dab of hot glue every 1/4-1/3 of the way around the circle

5) When you get toward the end leave about an inch of fabric and glue it underneath the rosette


6) Next put a dab of glue on the back of your rosette and place your bobby pin in the glue


7) Clip the tail off of your rosette with your scissors

And you're done!  Make as many as you want in coordinating colors and wear them yourself or give them as gifts.
 
Linking to: